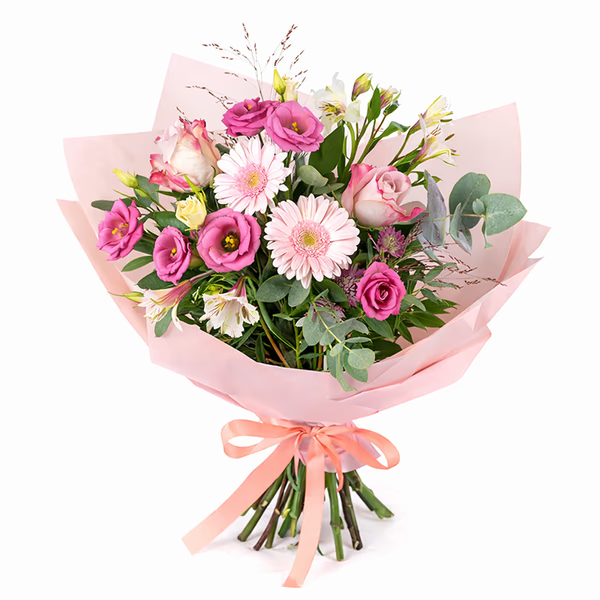
Pink Flirt
How to Wrap a Bouquet Like a Florist: DIY Bouquet Wrapping Guide
A beautifully wrapped bouquet can turn any flowers into something truly special. The right wrapping technique adds that polished, premium feel — without needing professional skills.
In this DIY tutorial, our florist Sofia from Euroflorist shows you how to wrap a bouquet step by step using simple paper and ribbon. As an example, she’s using pink peonies — a beloved bestseller among women and a top choice for Mother’s Day.
This easy method works for any flowers and helps you create a stunning bouquet in minutes.
In this tutorial, you’ll learn:
- How to prepare wrapping paper for a bouquet
- The easiest way to wrap peonies elegantly
- How to fold florist paper neatly
- How to secure a bouquet with ribbon
- Tips to make your flowers look professionally wrapped
What You’ll Need To Wrap Your Flowers For The First Time
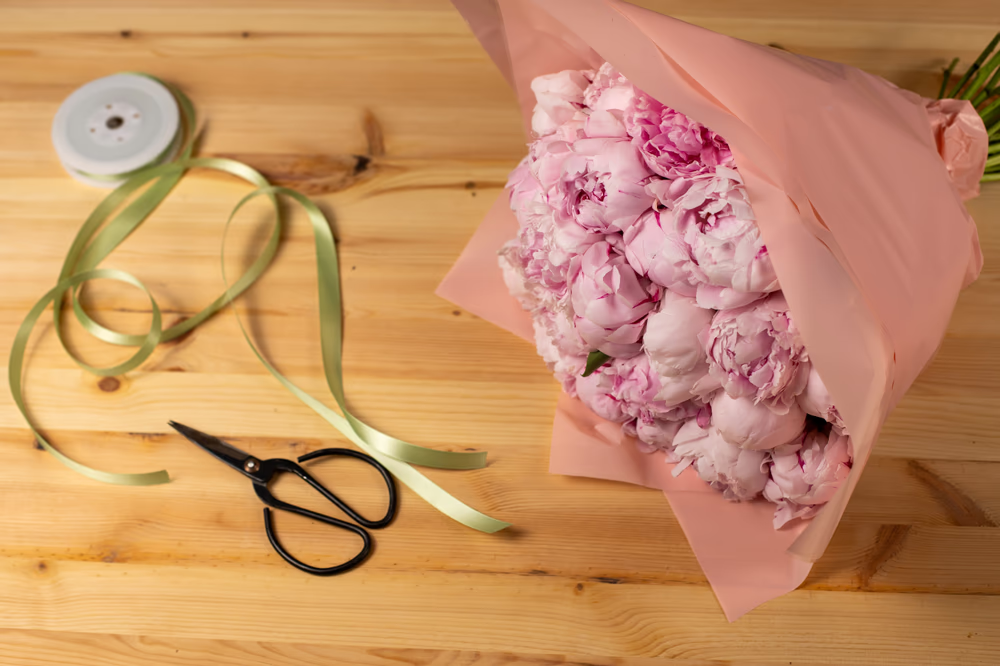
Before you begin wrapping flowers, prepare your materials.
- Fresh bouquet - e.g. with peonies
- 2 sheets of florist wrapping paper
- Satin ribbon or decorative ribbon
- Florist scissors or sharp scissors
- Optional: tissue paper or waterproof flower wrap
For this bouquet, we used soft blush pink wrapping paper paired with a light green satin ribbon for a romantic and modern look.

Step-by-Step: How to Wrap a Peony Bouquet
Step 1: Prepare the Wrapping Paper
Lay sheets of florist wrapping paper diagonally on your table. Place one corner slightly offset on top of the other to create layered edges and extra dimension.
This technique helps the bouquet look fuller and more elegant once wrapped.
The soft pink paper beautifully complements delicate peony petals and gives the bouquet a luxurious finish.
Step 2: Place the Bouquet on the Paper
Position the bouquet diagonally across the wrapping paper.
Peonies are naturally large and voluminous, so angle the stems slightly downward while allowing the blooms to remain the focal point.
At this stage, you can adjust the bouquet shape by gently rotating stems or spreading blooms evenly.
Step 3: Wrap the First Side Around the Bouquet
Bring one side of the paper over the bouquet and tuck it gently around the flowers.
Avoid wrapping too tightly. Flowers like peonies look best when the bouquet has an airy, soft silhouette. The wrapping should support the bouquet while still allowing the flowers to feel lush and abundant.
Florists usually leave the stem ends visible to keep bouquets looking natural, elegant and easy to handle. Visible stems also make it easier to place flowers in water and prevent excess moisture from building up inside the wrapping.
Ideally, the paper should finish above the bottom part of the stems, framing the flowers without completely hiding their natural shape.
Step 4: Tie the Ribbon Around the Stems
Wrap a satin ribbon around the bouquet stems and tie a neat bow.
This final detail instantly elevates the entire arrangement and gives it a professional florist-style finish.
For peonies, soft pastel ribbons work beautifully, especially shades like sage green, ivory, blush pink or champagne.
Final Result: Elegant DIY Peony Bouquet
And that’s it — your wrapped peony bouquet is ready.
This simple flower wrapping technique creates a bouquet that feels thoughtful, stylish and premium, even with minimal materials.
Whether you’re gifting flowers to someone special or preparing blooms for a dinner party, learning how to wrap a bouquet yourself adds a personal touch that makes flowers feel even more meaningful.
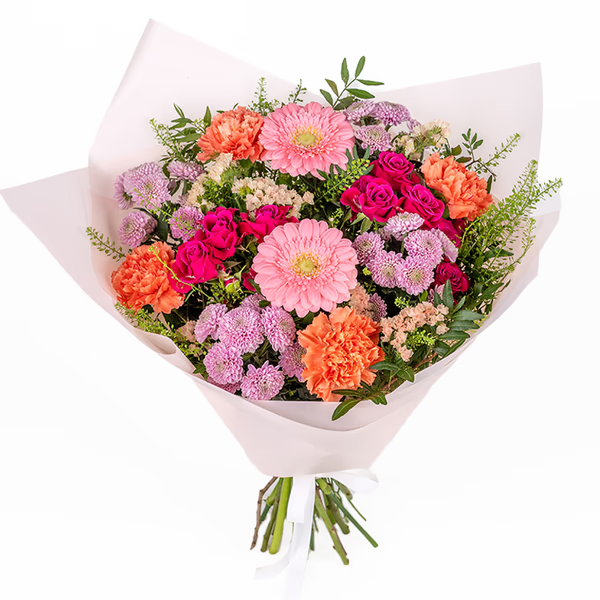
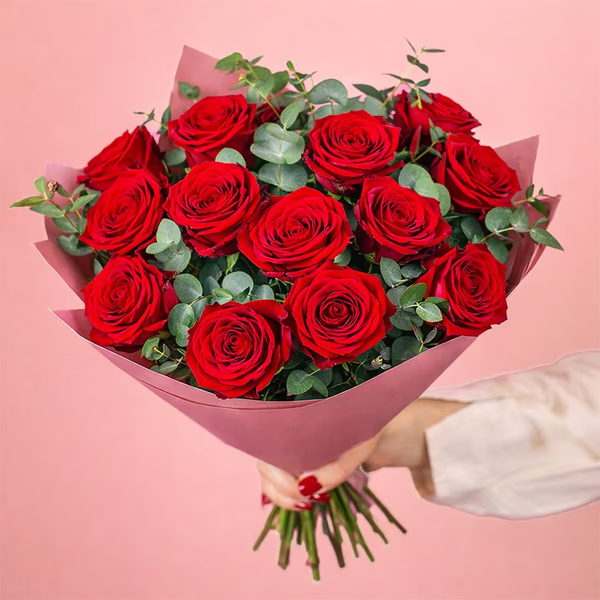
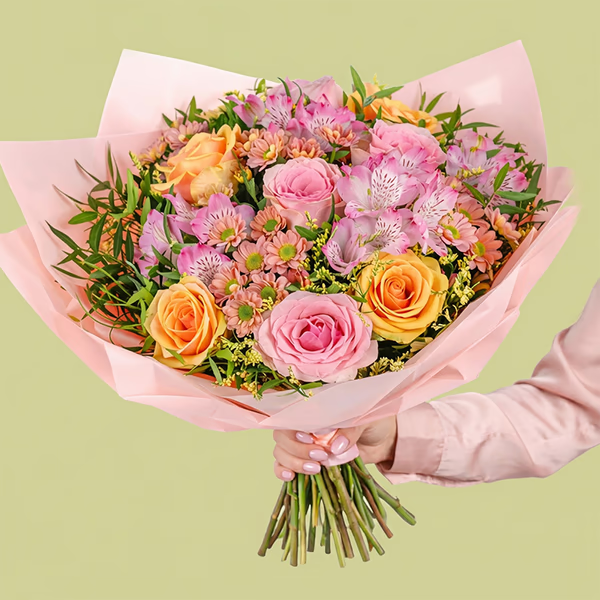
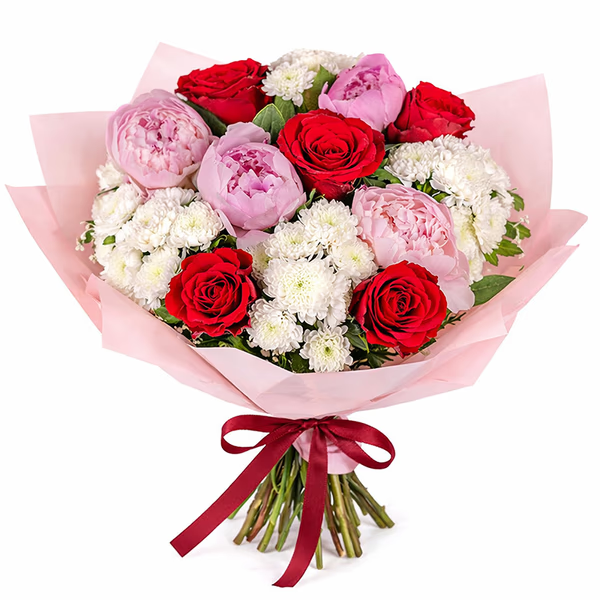
This is exactly the style in which most bouquets in the Euroflorist collection are wrapped. Carefully selected florist paper and elegant finishing touches enhance the natural beauty of the flowers while ensuring the bouquet is ready to be gifted the moment it arrives. If you're looking for inspiration, explore our collection of beautifully wrapped bouquets and discover how much the right presentation can elevate a floral gift.
Tips for Wrapping Flowers Beautifully
Choose the Right Paper
Matte florist paper, waterproof wrapping film and Korean-style flower wrap are all excellent choices for bouquet wrapping. Softer colors work especially well with romantic flowers like peonies, roses and ranunculus.
Don’t Overcrowd the Bouquet
Peonies are naturally full flowers. Allow the blooms enough space so the bouquet feels airy rather than compressed.
Use Ribbon for a Professional Finish
Even the simplest bouquet instantly looks more luxurious with a carefully tied ribbon.
Leave the Stem Ends Visible
Leave stems uncovered rather than hiding them completely with paper. Visible stems make it easier to place the flowers in water before or after gifting.

FAQ - Wrapping Bouquets
Final Thoughts
Wrapping flowers at home is easier than it looks, and with just a few simple techniques, you can create a bouquet that feels thoughtful, elegant and truly special.
Now it’s your turn. Try this method with your favourite flowers and add your own personal touch.
We’d love to see your creations — tag Euroflorist Poland and share the bouquets you’ve wrapped.